Download our free 3D pen templates: an eight-page A4 PDF with starter shapes, a cube and pyramid, 3D glasses, a butterfly, Christmas decorations, bubble letters and numbers. Print at 100 %, lay a transparent sheet or your silicone mat on top, and trace.
Download the templates (PDF, 8 pages, A4)
Drawing these? You need a 3D pen and a few colours of refill. Compare the best 3D pens, see our pick of 3D pens for kids and beginners, or stock up on refills.
Every template on this page was drawn by The 3D Hub. They are free to print for personal and classroom use. If you want to share them, please link to this page rather than uploading the file elsewhere, so people always get the latest version.
What’s in the pack
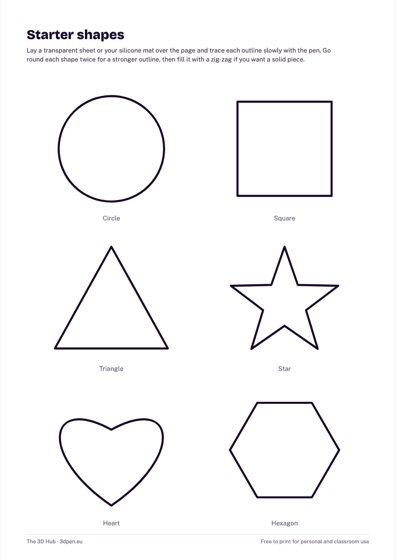 Starter shapes
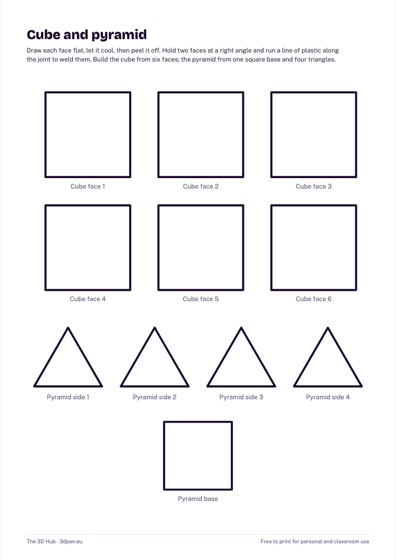 Cube and pyramid
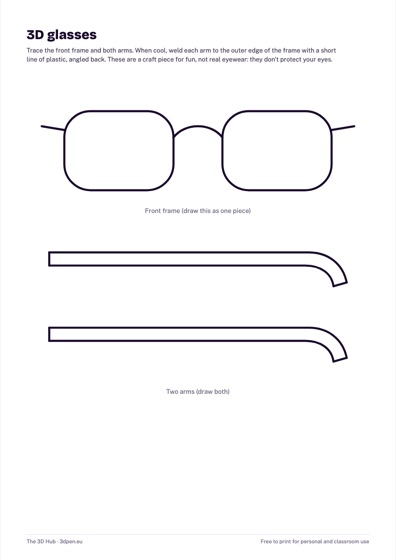 3D glasses
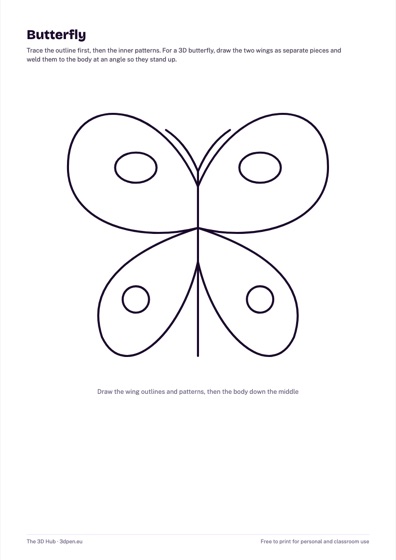 Butterfly
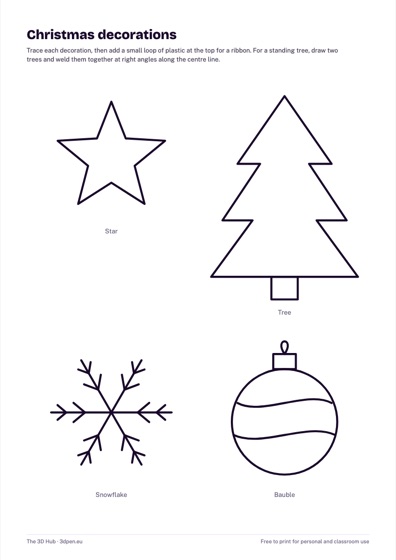 Christmas decorations
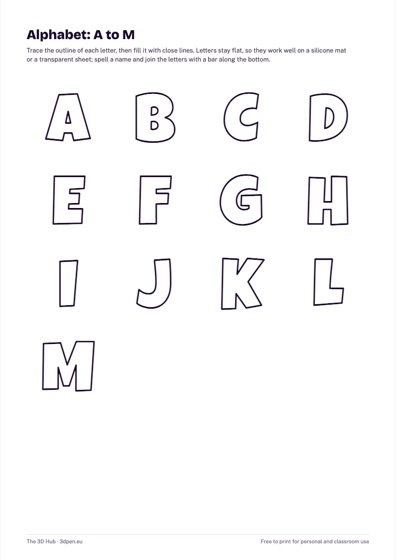 Alphabet A to M
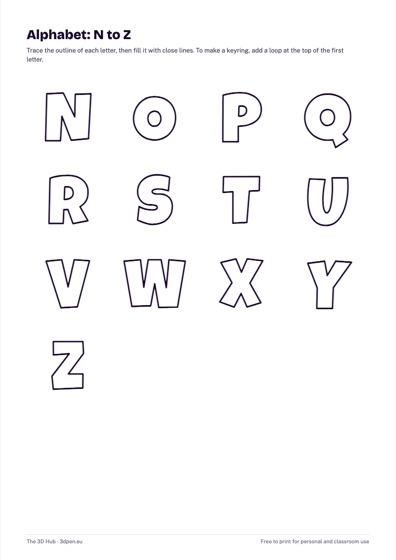 Alphabet N to Z
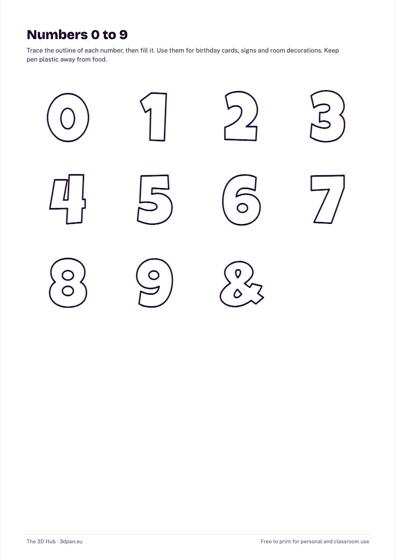 Numbers 0 to 9
Looking for more Christmas shapes? Download our free Christmas 3D pen templates: baubles, snowflakes, a stand-up tree, a reindeer and gift tags.
How to use a 3D pen template
- Print the PDF on A4 at 100 % (actual size), not “fit to page”, so the cube and pyramid faces stay the same size.
- Lay a transparent plastic sheet, or the silicone mat that came with your pen, over the printout. Tape the corners so nothing slides.
- Trace the outline first, slowly and in one direction. Go round a second time if you want a stronger edge.
- Fill the shape with close zig-zag lines if you want a solid piece, or leave it as an outline for a lighter frame.
- Let the plastic cool, then peel the piece off gently.
- For 3D models, hold two cooled pieces together and run a short line of plastic along the joint to weld them.
If you are new to the pen itself, start with our step-by-step guide on how to use a 3D pen, and see what a 3D pen mat is for before you buy one.
Which template to start with
First session: starter shapes
The circle, square and triangle teach steady speed; the star and heart teach sharp corners and curves. They are the quickest way to learn how fast the plastic comes out of your pen.
First 3D build: cube and pyramid
The faces are the same size, so the edges meet when you weld them. Build the pyramid first: it has fewer joints than the cube.
Something to wear: 3D glasses
A favourite with children. Draw the frame in one piece and add the arms afterwards. They are a craft piece, not eyewear, and they don’t protect your eyes.
Names and messages: bubble letters and numbers
Bubble letters are thick enough to fill without gaps. To spell a name, trace the letters, then join them with a bar along the bottom.
For more ideas once you have finished the pack, see our 3D pen ideas for beginners and our tips on drawing with stencils.
What you need
- A 3D pen and filament that suit the person drawing. For under-tens, read our guide to the best 3D pen for kids and follow the maker’s age rating; our ranking of 3D pens covers older children and adults.
- A transparent sheet or a silicone mat to draw on.
- Enough refills in a few colours: see our guide to 3D pen filament types.
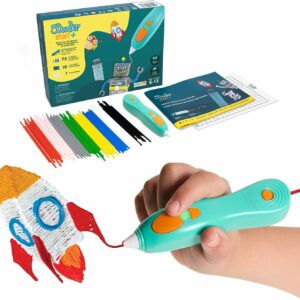 3Doodler
 Start+ Essentials 3D Pen Set
A cordless 3D pen for ages 6 to 13, with no external hot parts and low-heat eco-filament, according… View product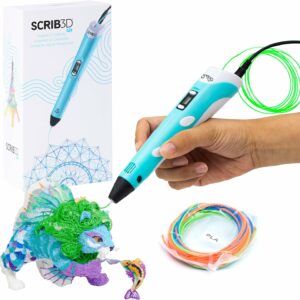 SCRIB3D
 P1 3D Pen with Display
A 1.75 mm PLA and ABS pen with a temperature screen, adjustable heat and stepless speed, for teens… View product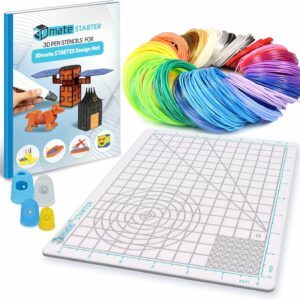 3Dmate
 PLA Refill Kit with Silicone Mat, Stencils and Finger Guards
About 110 m of 1.75 mm PLA with a silicone mat, a stencil book and four finger guards:… View product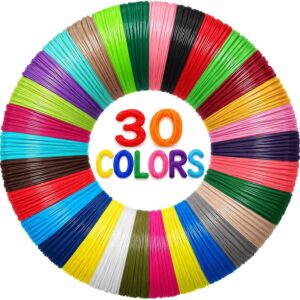 Yungden
 30-Colour PLA Refills (1.75 mm)
Thirty colours of 1.75 mm PLA, 3 m each, with transparent and fluorescent shades for hot 3D pens. View productCommon questions
Can I draw directly on the paper template?
It is better not to. Lay a transparent sheet or a silicone mat over the printout: the plastic peels off it cleanly, and the template stays reusable.
What size should I print the templates?
Print on A4 at 100 % or actual size. Scaling the page changes the size of every piece, so faces meant to join no longer match.
Can I use these templates in a classroom?
Yes. They are free to print for personal and classroom use. Please link to this page if you share them, rather than re-uploading the PDF.
Are these templates suitable for young children?
The shapes are simple, but whether a child can use a 3D pen depends on the pen. Follow the maker’s age rating and supervise younger children; our guide to whether a 3D pen is safe for kids explains what to check.